Menu
Home
Food
Appetizer
Breakfast/Brunch
Desserts
Drinks
Healthy Eating
Main Dish
Side Dish
Travel
Entertaining
Home & Garden
Beauty & Style
About
Meet Wanda & Paloma
Contact
Work with Us!
My Sweet Zepol
Mom and Daughter team cooking traditional recipes with a twist
Pizza Dough
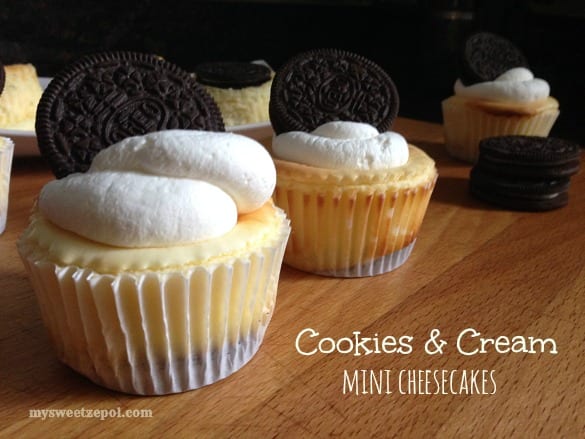
Cookies and Cream Mini Cheesecakes
Blog Crush
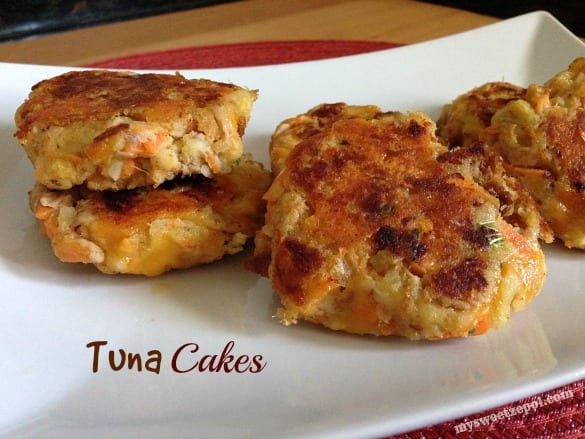
Tuna Cakes
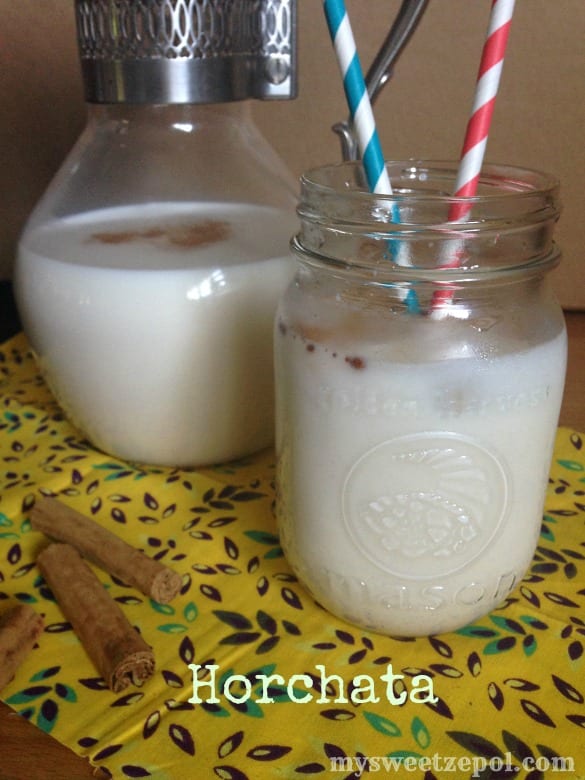
Horchata
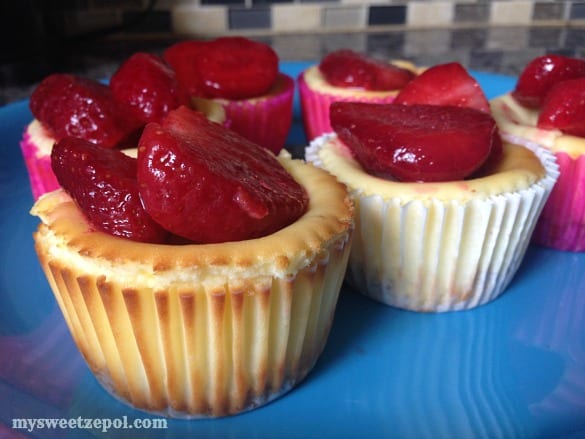
Strawberry Lemonade Mini Cheesecake
Cooper’s Hawk Winery & Restaurants
Cheesy Sausage Frittata
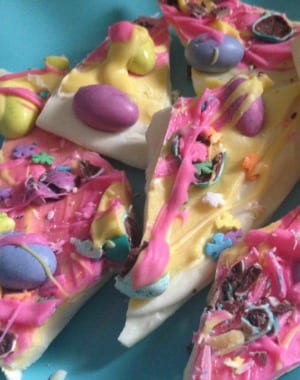
Easter Chocolate Bark
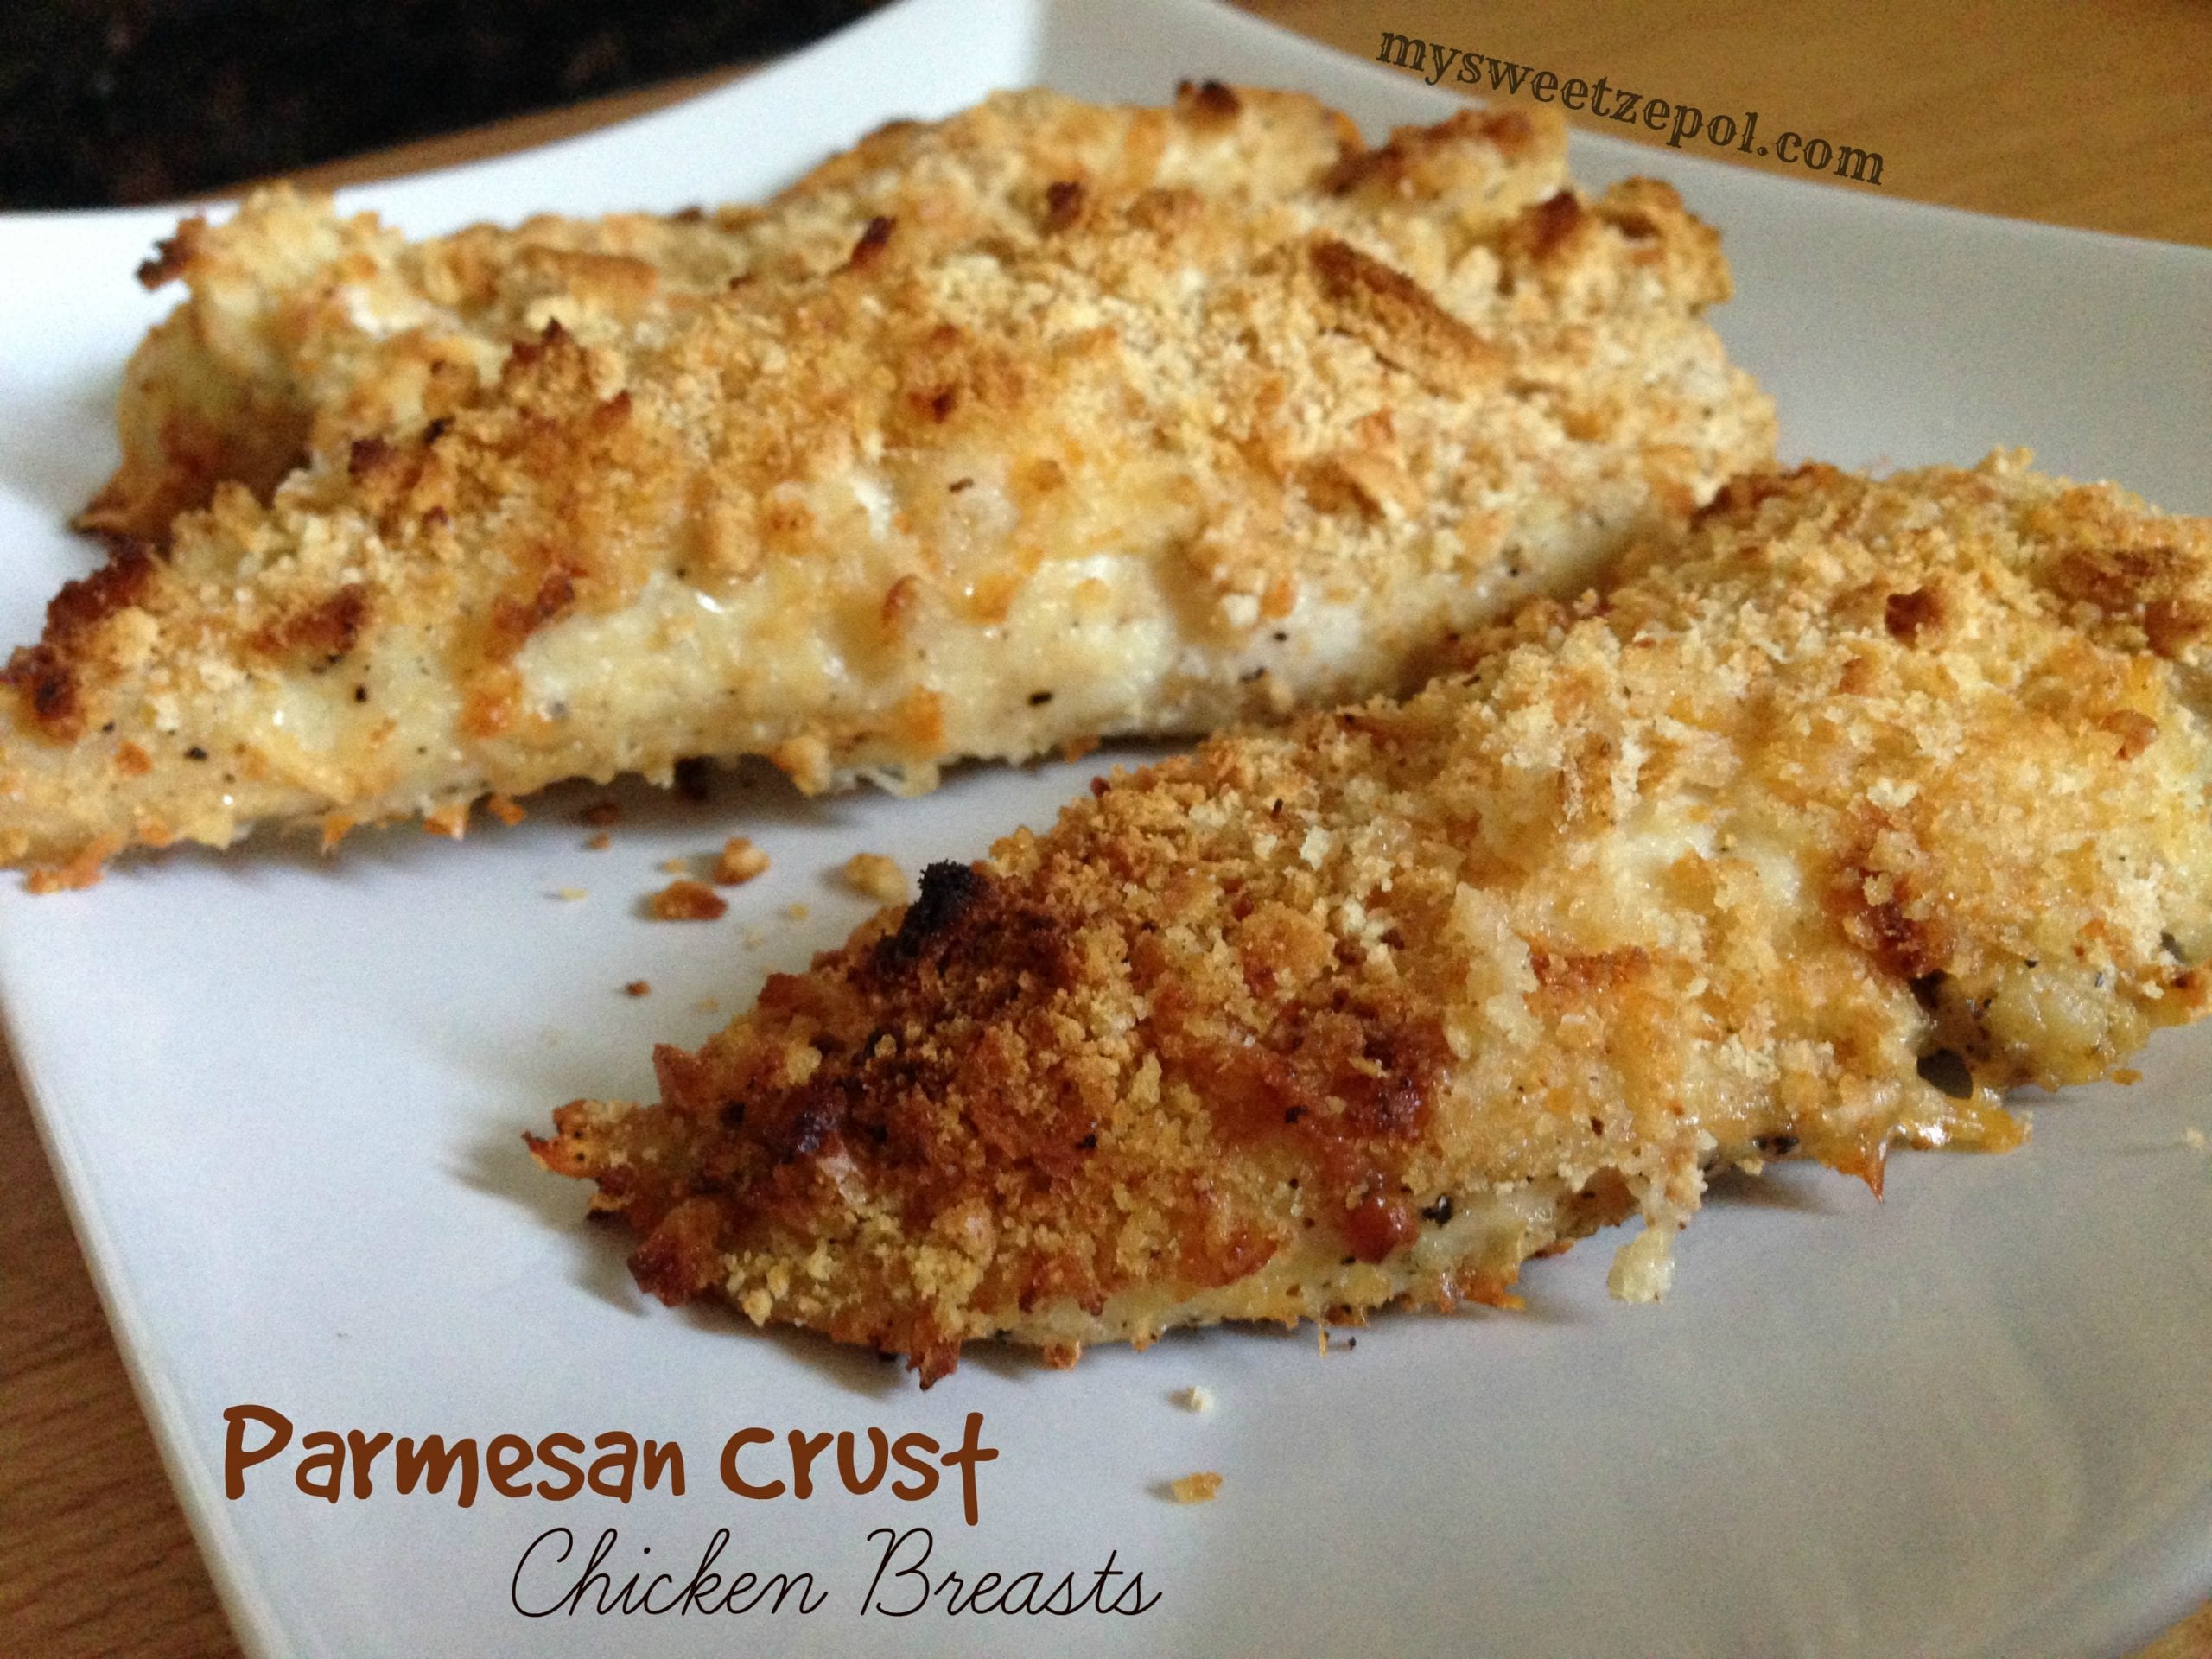
Parmesan Crust Chicken
Tilapia with Sweet Peppers
Tasting Olive Garden
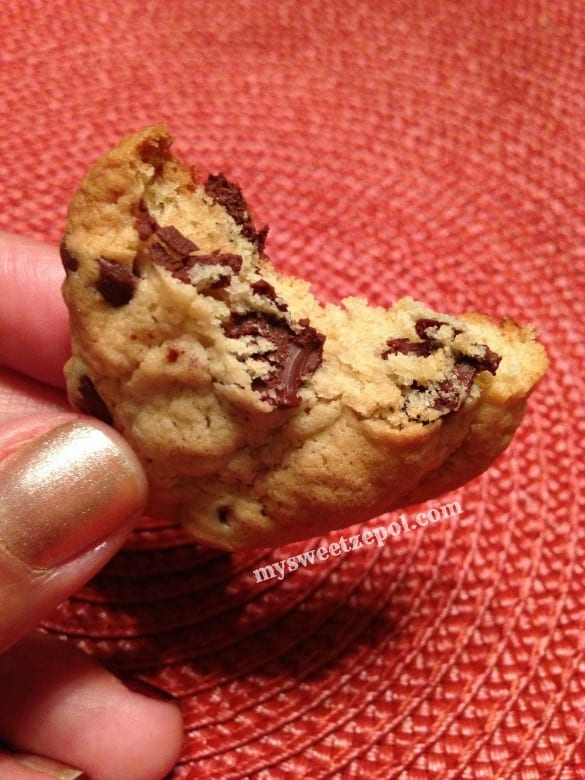
Rich Chocolate Chip Cookies
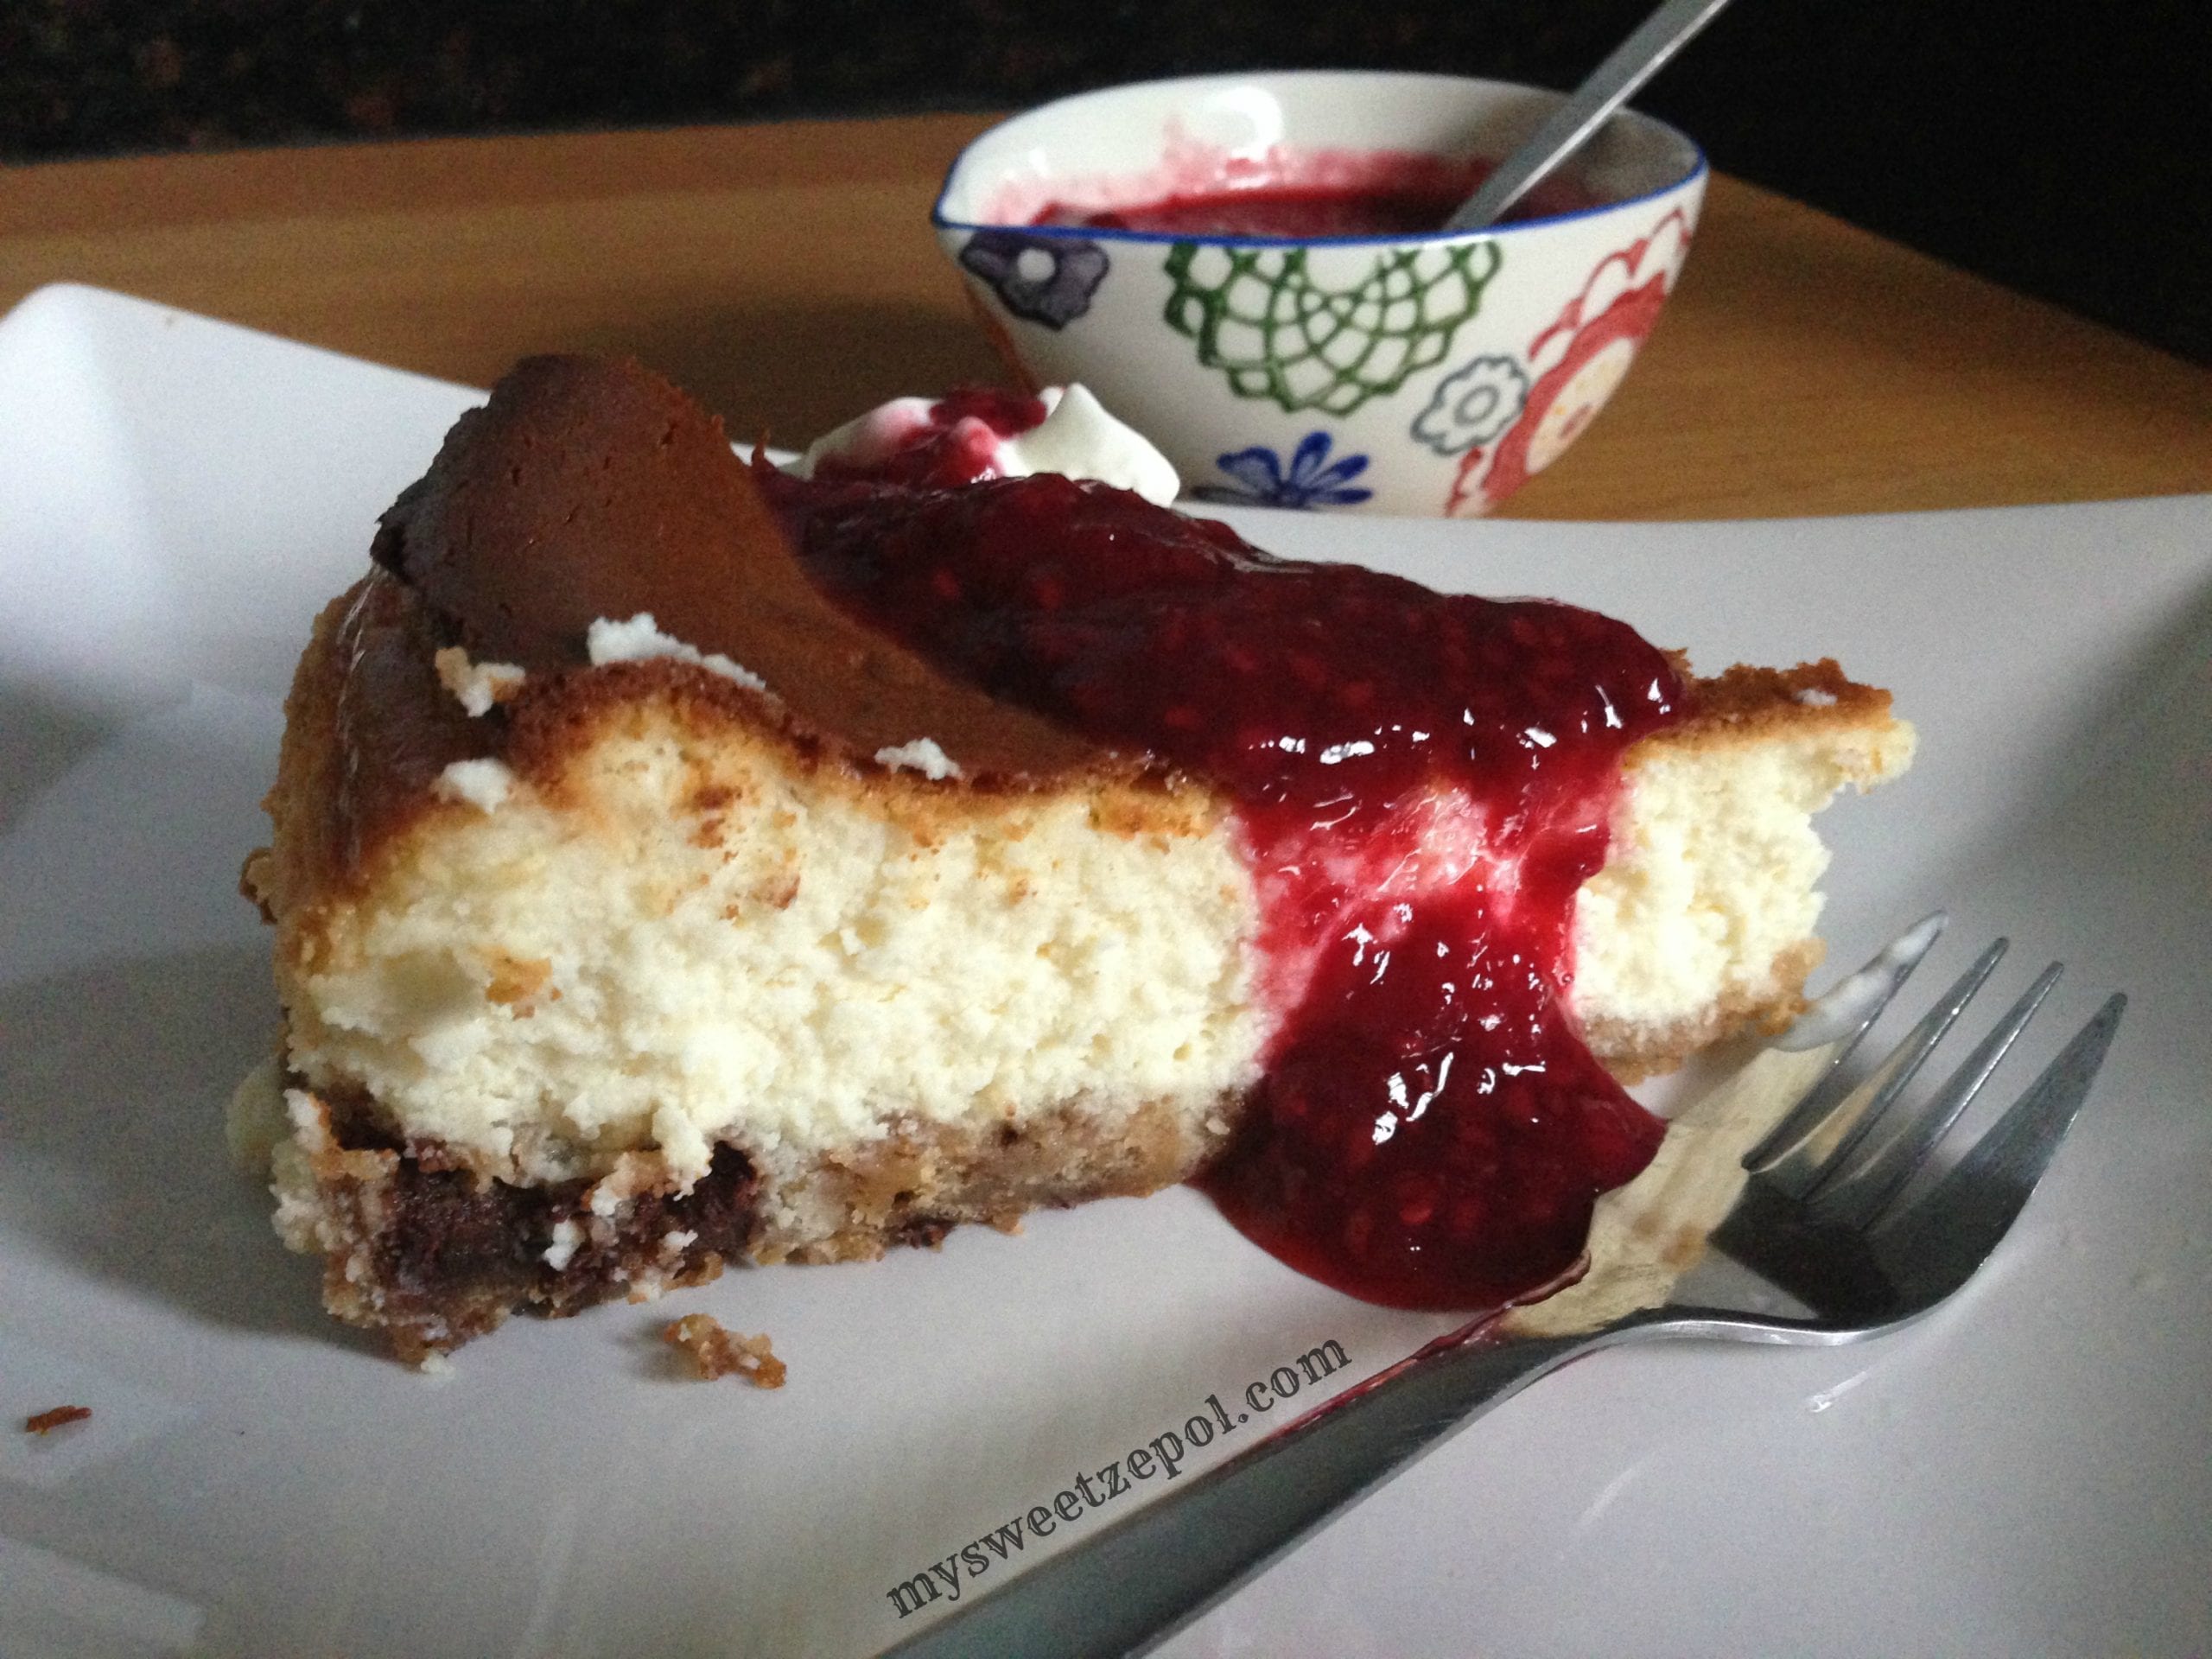
Chocolate Chip Cookie Cheesecake
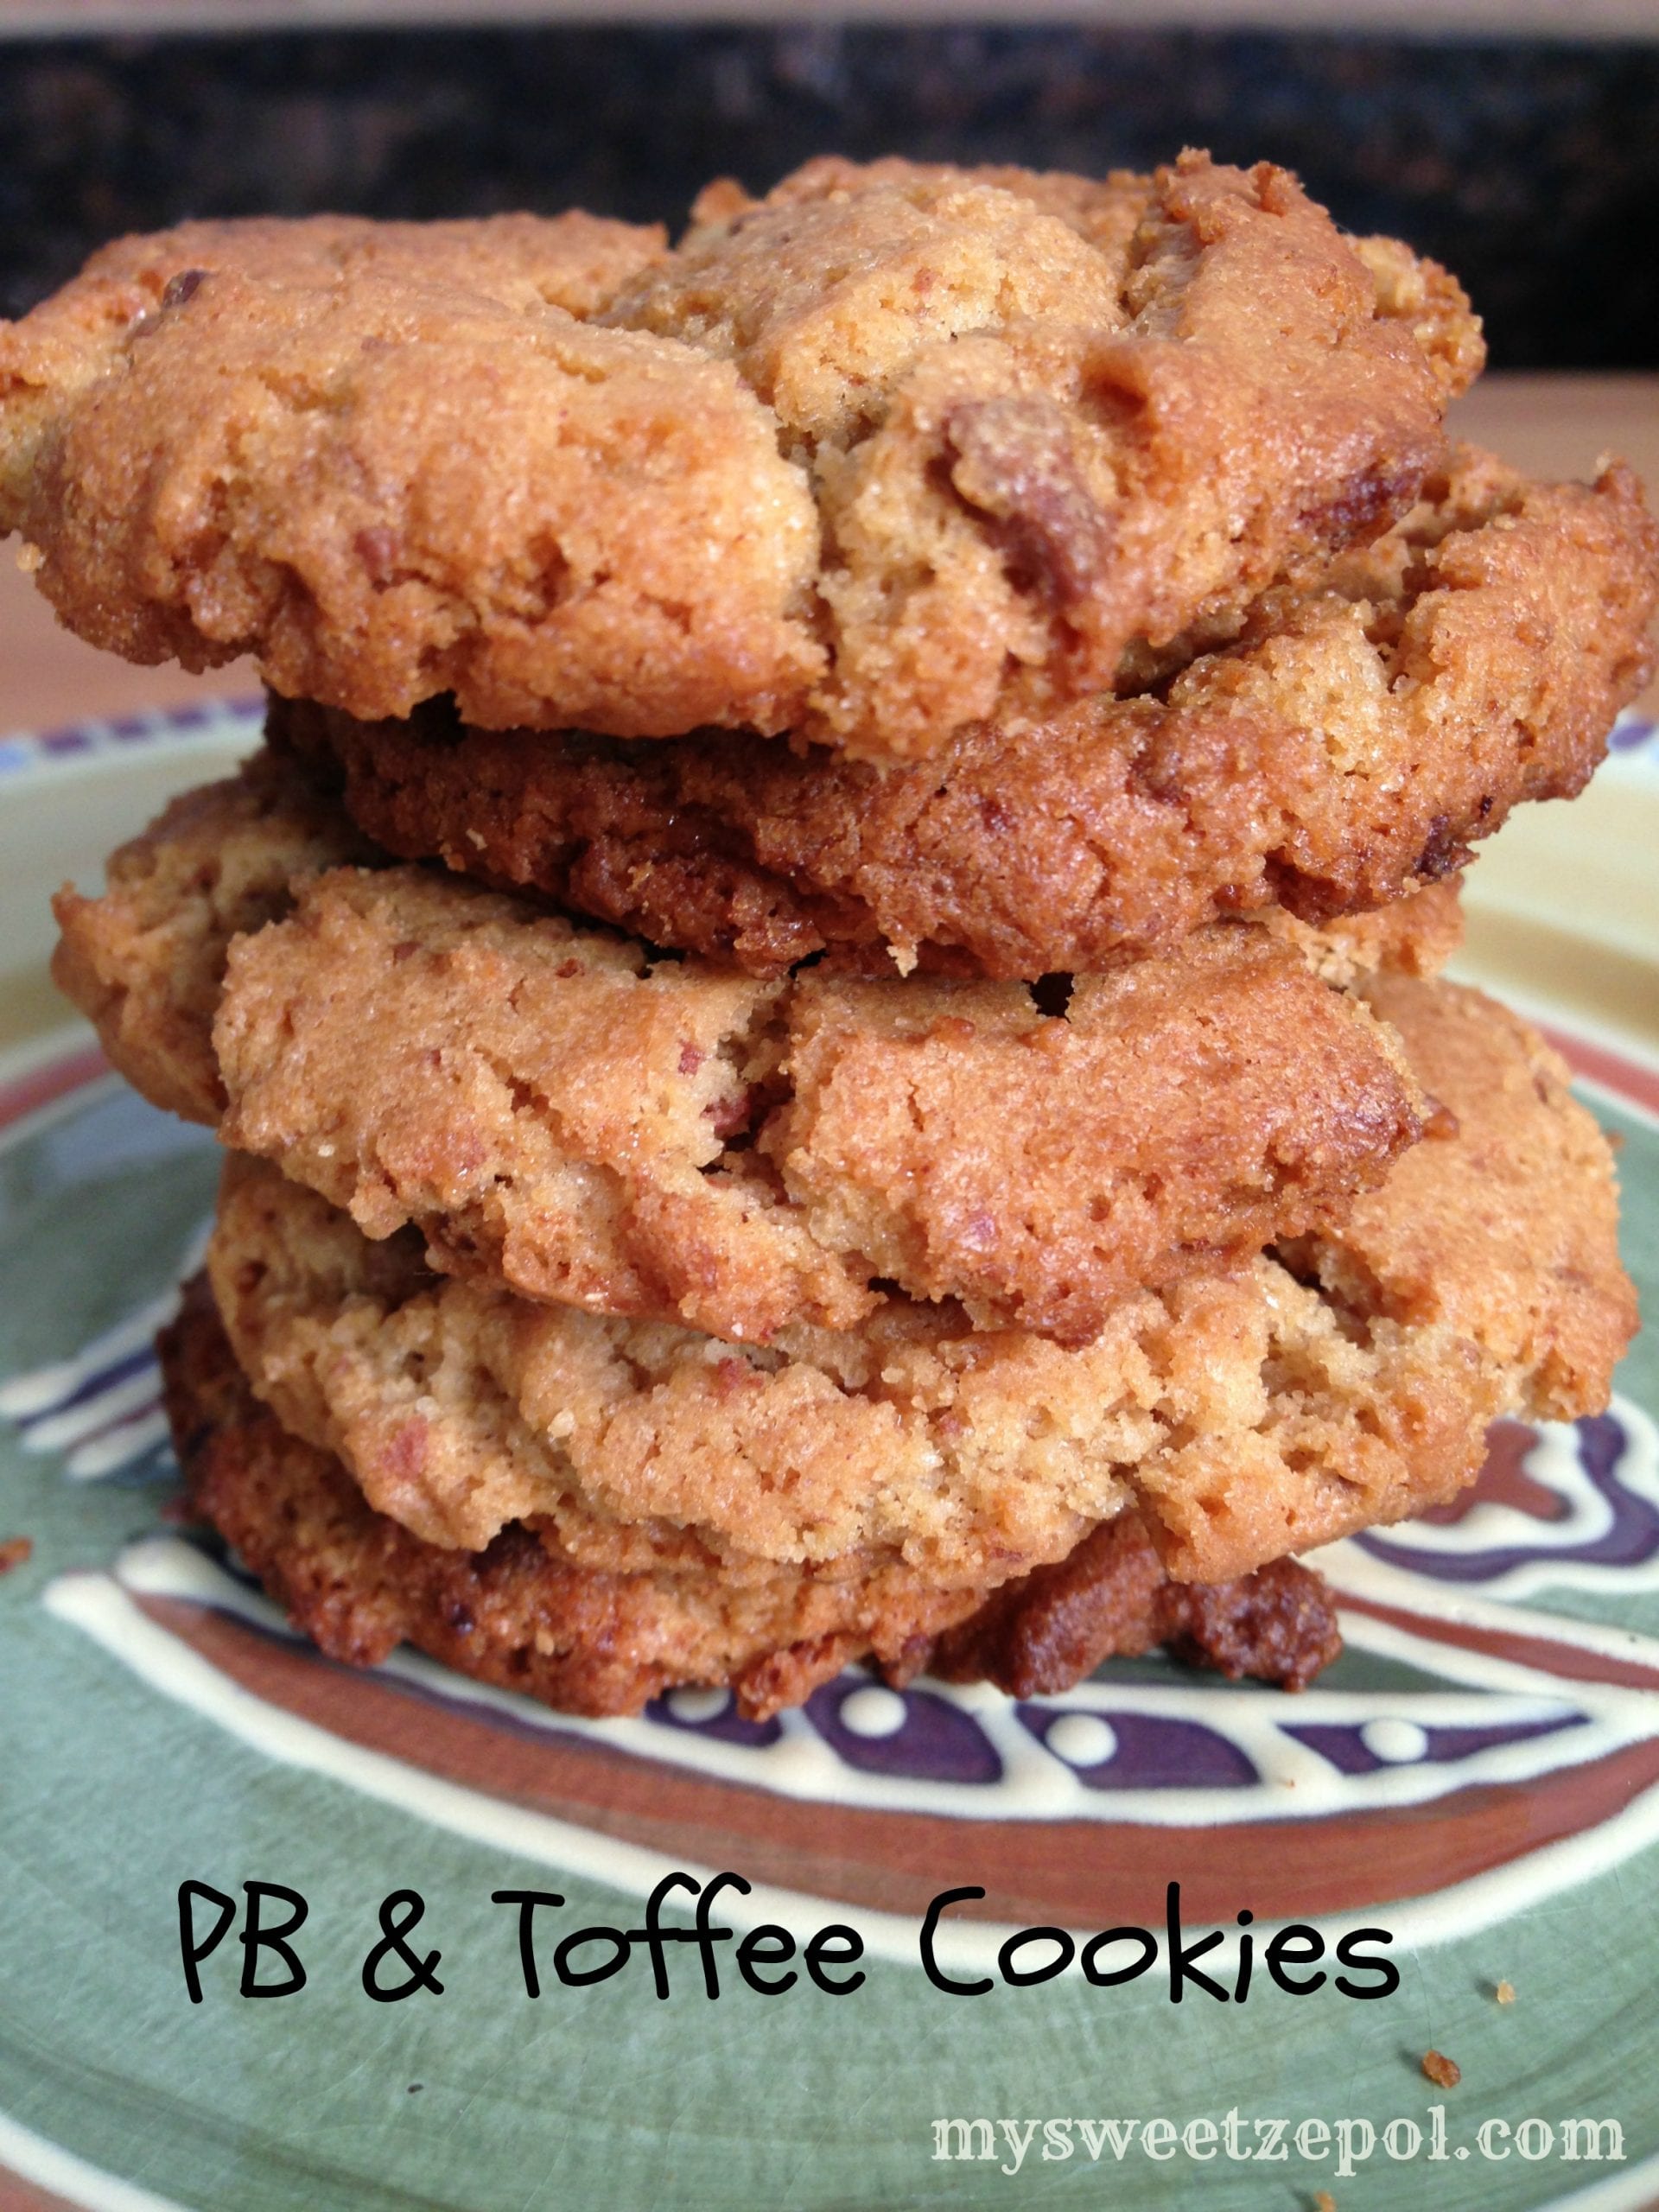
Peanut Butter and Toffee Cookies
Berries Sauce
Posts navigation
Previous
1
…
16
17
18
19
20
21
22
23
24
25
26
…
33
Next